Easy Christmas Garland Patterns: Free Holiday Crochet Idea
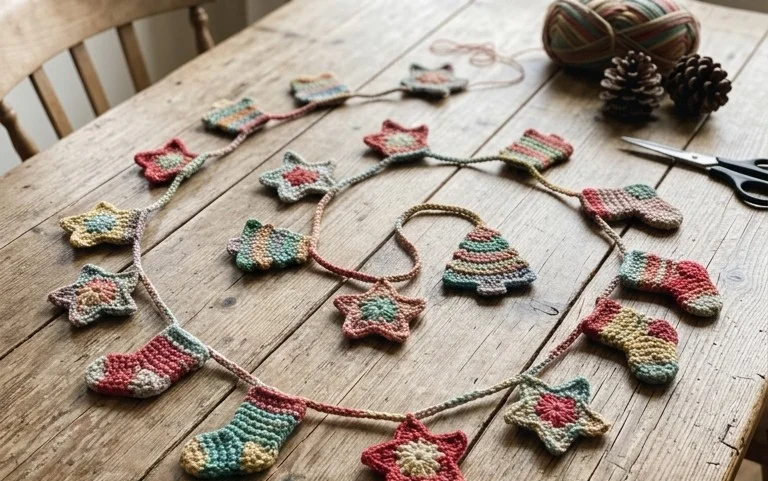
A string of soft, yarn-made spheres brings a cozy and handmade texture to your mantelpiece or tree during the long winter nights. These round ornaments feel substantial in your hand, offering a weighted quality that plastic alternatives simply lack. Beginners often find this project grounding because it focuses entirely on the rhythm of the single crochet stitch and the simple geometry of the magic ring. You will learn how to transition from flat circles into full, three-dimensional shapes while practicing the invisible decrease. This creates a neat finish that keeps your stuffing hidden inside, ensuring every sphere remains perfectly smooth.
Why You’ll Love This Pattern
This crochet sphere pattern uses the classic magic ring and continuous round method, making it an ideal entry point for anyone interested in amigurumi. You will appreciate how quickly the simple, rhythmic increase rounds build up, allowing you to finish a small project in under an hour. Because the design relies on basic single crochet stitches, it is easy to pick up and put down without losing your place. The final result is a firm, uniform shape that serves as the foundation for endless creatures, ornaments, or stress-relief toys.
I finally mastered the invisible decrease thanks to this tutorial, and my spheres are perfectly round without any stuffing poking through the seams.
— Sarah, beginner amigurumi maker
Pattern Overview & Skill Level
- Skill Level: Beginner
- Approximate Time: 30 to 45 minutes
- Construction: Continuous rounds worked in a spiral, starting with a magic ring and ending with a cinch-closed decrease.
- Finished Dimensions: Approximately 3 inches in diameter when using medium weight yarn and a 4.0 mm hook.
Materials & Supplies Needed
- Yarn: Worsted weight (#4) acrylic or cotton blend, approximately 20-30 yards.
- Hook Size: 4.0 mm (US size G-6) to ensure tight stitches that keep stuffing hidden.
- Notions: Tapestry needle for weaving ends, stitch marker to track the start of rounds, and polyester fiberfill stuffing.
- Yarn Substitutions: You can use DK weight yarn with a 3.25 mm hook for a smaller sphere, or bulky weight yarn with a 5.5 mm hook for a larger, squishier toy. Note that changing yarn weight will change the total yardage needed.
Stitch Guide & Abbreviations (US Terms)
- MR: Magic Ring. A method of starting a round by crocheting over an adjustable loop.
- sc: Single crochet.
- inc: Increase. Work 2 sc into the same stitch to add a stitch.
- dec: Decrease. Work 2 sc together using the front loops only to reduce a stitch.
- sl st: Slip stitch.
- st/sts: Stitch or stitches.
Step-by-Step Pattern Instructions
Sphere Body
- Rnd 1: Start 6 sc in a magic ring (6 sts).
- Rnd 2: Work 2 sc in each st around (12 sts).
- Rnd 3: 1 sc, inc repeat from * to * 6 times (18 sts).
- Rnd 4: 1 sc in next 2 sts, inc repeat from * to * 6 times (24 sts).
- Rnd 5: 1 sc in next 3 sts, inc repeat from * to * 6 times (30 sts).
- Rnd 6-10: Work 1 sc in each st around for 5 rounds (30 sts).
- Rnd 11: 1 sc in next 3 sts, dec repeat from * to * 6 times (24 sts).
- Rnd 12: 1 sc in next 2 sts, dec repeat from * to * 6 times (18 sts).
- Rnd 13: 1 sc, dec repeat from * to * 6 times (12 sts).
Finishing and Closing
Before closing the sphere, stuff it firmly with fiberfill until it reaches your desired firmness. Ensure the stuffing is evenly distributed to prevent lumpy sections.
- Rnd 14: Work dec 6 times (6 sts).
- Cut the yarn, leaving a 6-inch tail. Thread the tail onto your tapestry needle.
- Weave the needle through the front loops of the remaining 6 stitches and pull the tail tight to close the opening.
- Secure the yarn with a knot and weave the remaining end into the center of the sphere to hide it.
Care & Washing Instructions
- Hand wash your finished item in cool water with a mild detergent to prevent the stuffing from clumping.
- Lay the piece flat on a towel in a shaded area to air dry, turning it occasionally to ensure even moisture evaporation.
- If the sphere loses its shape after washing, gently massage it with your hands to redistribute the internal fiberfill.
Pro Tips & Common Mistakes to Avoid
- Tighten Your Tension: Use a hook size slightly smaller than what is recommended on the yarn label. This creates a tight fabric that prevents the white fiberfill from showing through the gaps between stitches.
- Use a Stitch Marker: Because this pattern is worked in continuous rounds, it is easy to lose count. Always place a stitch marker in the first stitch of every round to keep your work consistent.
- Weaving Ends: Hide your starting tail by pulling it inside the sphere before you begin stuffing. Use the finishing tail to close the hole, then push the needle through the body and out the other side to trim it flush; the tail will tuck itself deep inside the stuffing.
- Adjusting Size: If you want a larger sphere, continue adding increase rounds (e.g., 1 sc in next 4 sts, inc) before working your even rounds. Keep in mind that for every round you add, you must eventually add a corresponding decrease round to close the sphere properly.
Frequently Asked Questions
Can I use cotton yarn instead of acrylic?
Yes, cotton yarn works well for spheres because it has less stretch than acrylic, which results in a very firm, defined shape. Expect the final project to feel slightly heavier and less soft.
Is this pattern suitable for complete beginners?
This is an excellent project for beginners. It requires knowledge of only basic stitches and introduces the fundamental concept of working in rounds, which is the basis for all amigurumi.
What if my sphere looks more like a hexagon?
A hexagonal shape usually happens if your increase points are stacked directly on top of each other every round. To fix this, alternate your starting stitch counts so the increases are offset rather than aligned.
Am I allowed to sell items made from this pattern?
You are welcome to sell finished items created from this pattern. Please credit the design to the original author when listing your items online or at local markets.
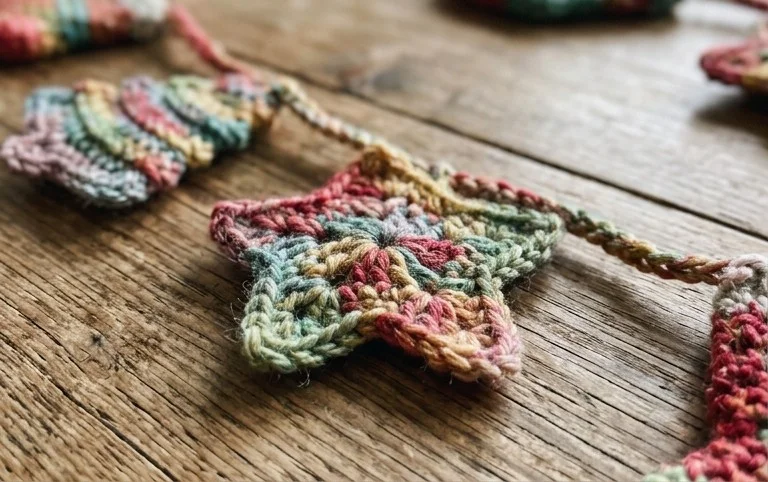
Seeing your handmade spheres strung together against the warm glow of fairy lights turns any living space into a festive home. Try working these in variegated wool or metallic thread for a completely different aesthetic that catches the light in new ways. You can snap a photo of your finished decoration to share with our community or tag us in your latest post to show off your color choices. Browse our other free patterns on the blog to find more ways to fill your holiday afternoons with quiet, creative joy.