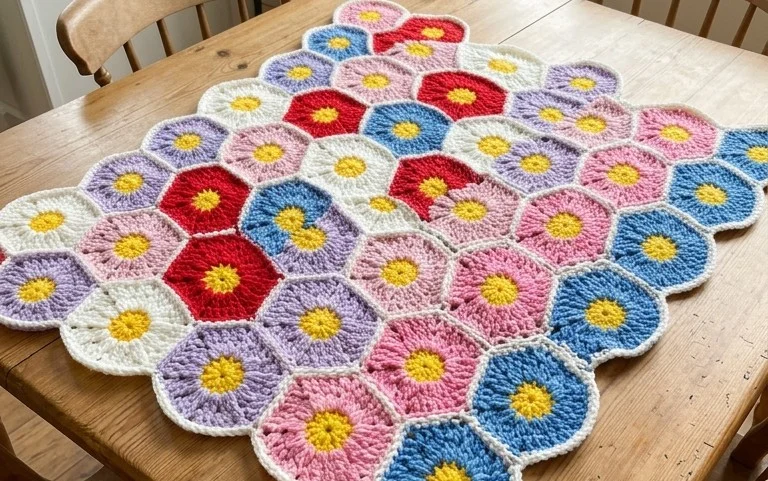
Bubble Stitch Beanie Hat: Free Beginner Crochet Pattern
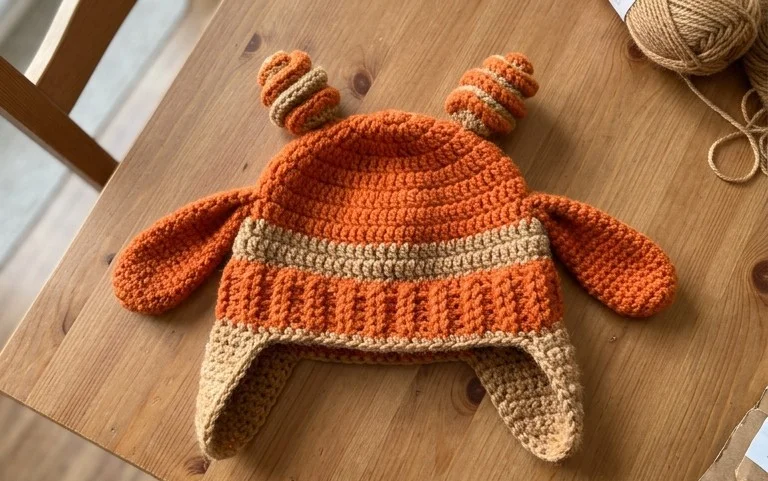
This textured hat creates a distinct, pillowy surface that feels thick and cozy against the skin, making it a reliable layer for cold mornings. The round, raised spheres grow quickly as you work, providing a satisfying rhythm that keeps the hands busy and the mind steady throughout the process. Beginners often find this project approachable because the repetitive nature of the construction allows for steady practice of tension control. You will learn the specific placement of the bobble stitch to build density and structure without adding unnecessary weight to the finished accessory. It makes a thoughtful gift for friends who appreciate handmade wool goods.
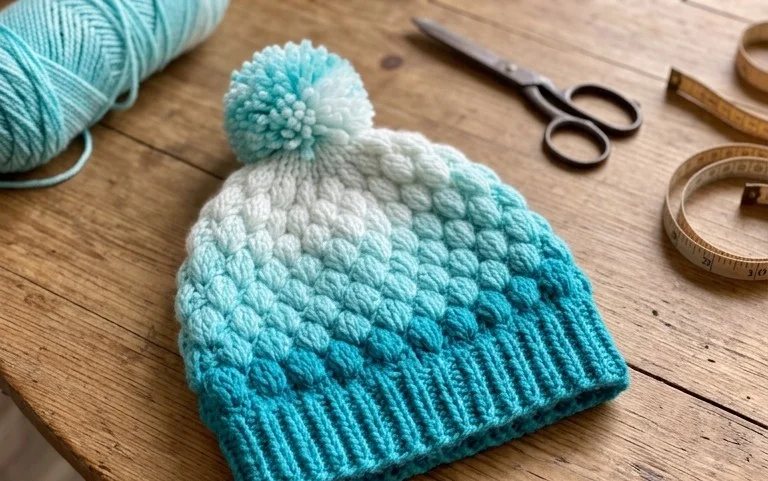
Why You Will Love This Pattern
The Classic Crochet Granny Square is the fundamental building block for countless heirloom-quality projects, from lightweight summer throws to sturdy tote bags. This pattern relies on a repeating sequence of clusters and chain spaces, making it a meditative project that requires minimal mental energy once you master the first few rounds. Because it works in the round, you can stop at any size, providing flexibility for stash-busting efforts or creating modular motifs for larger garments. The geometric structure creates a balanced tension that is forgiving for those new to controlling yarn flow.
I finally felt confident reading a pattern after finishing my first dozen squares. The repetition helped my hands memorize the tension, and they look professional joined together.
— Sarah, beginner crocheter
Pattern Overview & Skill Level
- Skill Level: Beginner
- Approximate Time: 30 to 45 minutes per square
- Construction: Working in joined rounds, starting from a center ring and expanding outward
- Finished Dimensions: 6 inches by 6 inches using standard worsted weight yarn
Materials & Supplies Needed
- Yarn: Worsted weight (#4), 100% acrylic or wool blend, approximately 30 yards per square.
- Hook Size: 5.0 mm (H-8).
- Notions: Yarn needle for weaving ends, sharp scissors.
- Safe yarn substitutions: Cotton yarn will result in a firmer, heavier square with less drape. If using DK weight, use a 4.0 mm hook to maintain the structural integrity of the clusters.
Stitch Guide & Abbreviations (US Terms)
- ch = chain
- st = stitch
- sl st = slip stitch
- dc = double crochet
- dc cluster = 3 double crochet stitches worked into the same space
- sp = space (the hole created by a chain)
- MR = magic ring (or alternate: ch 4 and sl st to the first ch to form a loop)
Step-by-Step Pattern Instructions
The Square Base
- Rnd 1: Start with a MR. Ch 3 (counts as the first dc), work 2 dc into the ring, ch 2, 3 dc, ch 2 3 times. Sl st to the top of the initial ch 3 to join. (12 dc, 4 ch-2 spaces)
- Rnd 2: Sl st into the next two dc and into the first ch-2 corner sp. Ch 3, 2 dc, ch 2, 3 dc in same corner sp. Ch 1, skip 3 dc, (3 dc, ch 2, 3 dc) in the next corner sp. Repeat from * to * 3 times. End with a ch 1, sl st to the top of the initial ch 3. (24 dc, 4 ch-2 corner spaces, 4 ch-1 side spaces)
- Rnd 3: Sl st into the next two dc and into the corner sp. Ch 3, 2 dc, ch 2, 3 dc in corner sp. Ch 1, 3 dc in next ch-1 sp, ch 1, (3 dc, ch 2, 3 dc) in next corner sp. Repeat from * to * 3 times. End with a ch 1, 3 dc in the final ch-1 side sp, ch 1, sl st to join. (36 dc, 4 ch-2 corner spaces, 8 ch-1 side spaces)
- Rnd 4: Continue pattern by working (3 dc, ch 2, 3 dc) in every corner space and 3 dc in every ch-1 space across the sides. Separate each cluster with a ch 1. (48 dc, 4 ch-2 corner spaces, 12 ch-1 side spaces)
Finishing
After reaching your desired size, fasten off by cutting the yarn, leaving a 6-inch tail. Pull the tail through the final loop and pull tight. Thread the tail onto your yarn needle and weave the end through the back loops of the finished stitches for at least two inches to secure. Block the square by pinning it to a foam mat, spraying it lightly with water, and allowing it to air dry to ensure perfectly straight edges.
Care & Washing Instructions
- Machine wash in cold water on a gentle cycle using a mesh laundry bag to prevent snagging.
- Lay the square flat on a clean towel to dry, reshaping the corners with your fingers while damp.
- Avoid harsh chemical bleaches or high-heat drying, which can cause synthetic fibers to melt or natural fibers to shrink.
Pro Tips & Common Mistakes to Avoid
Maintain consistent tension by ensuring your yarn hand remains relaxed; if you notice the square curling, your tension is likely too tight. Always place a stitch marker in the top of your starting chain to identify the joining point easily for the next round. Weave your ends in multiple directions, rather than just one straight line, to prevent them from slipping out over time. If you decide to add more rounds to increase the size, note that each additional round will require significantly more yarn than the previous one, so monitor your supply if working from a limited skein.
Frequently Asked Questions
Can I substitute acrylic for wool yarn in this pattern?
Yes, acrylic and wool are both suitable for this project. Wool may felt slightly if washed incorrectly, while acrylic provides consistent, durable results that withstand frequent washing.
Why are the edges of my square wavy instead of flat?
Wavy edges usually indicate too many stitches were added or your tension is too loose. Ensure you only add ch-1 spaces between side clusters and ch-2 spaces at the corners.
Is it okay to sell items made from this pattern?
This pattern is intended for personal use and gift-giving. Please check the specific terms provided by the designer regarding commercial use before selling finished items.
How do I adjust the size of the square?
You can make the square any size by continuing the round-by-round instructions. Each round adds exactly 12 stitches, maintaining the square shape regardless of how many rounds you complete.
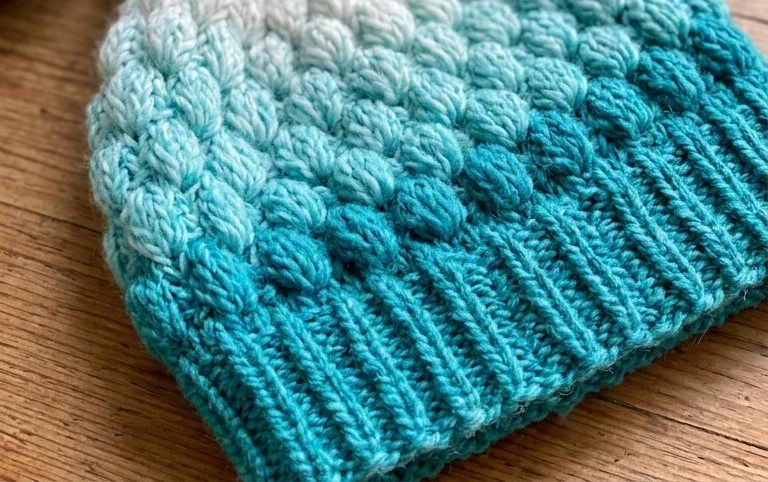
Your finished hat provides a warm, tactile accessory that brings character to any winter outfit. You can modify this design by switching to a variegated wool blend to highlight the individual stitches or by adding a faux fur pompom to the top for a classic silhouette. Sharing a photo of your work on social media helps other makers see how different color choices change the final look. Please look through the rest of the blog for more free patterns to build your collection of handmade winter essentials.