Easy Crochet Kitchen Accessories: Free Christmas Patterns
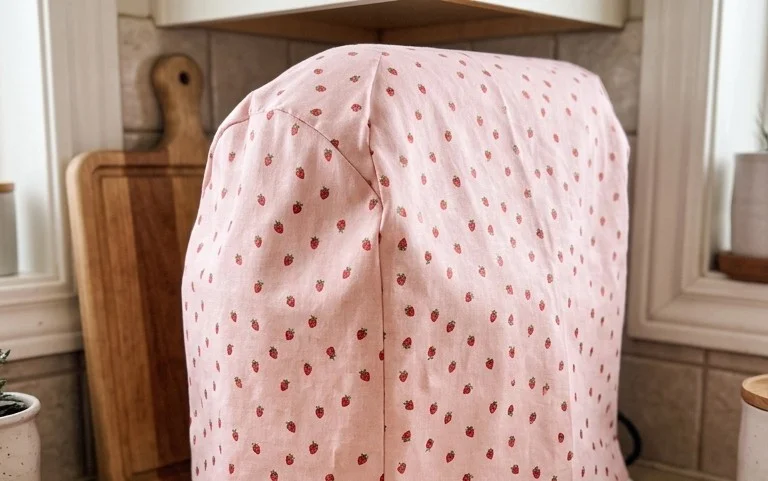
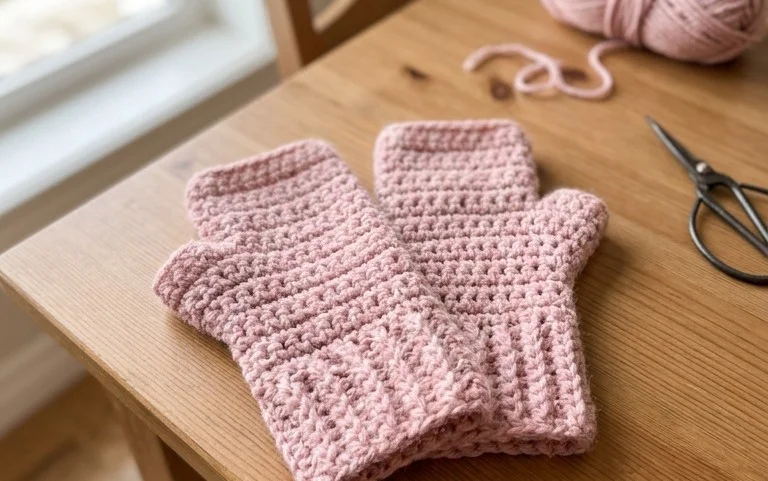
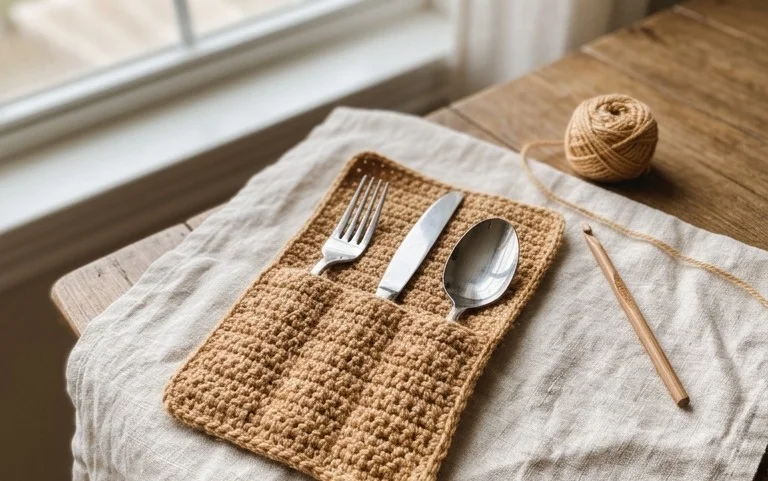
Handmade cotton dishcloths and potholders bring a soft, rustic warmth to any kitchen space, especially when gifted during the busy holiday season. These small accessories provide a thick, heat-resistant texture that protects your counters while feeling gentle on your hands during long afternoons of baking cookies. Beginners often appreciate how these designs turn basic yarn into functional household items within just a few hours. This guide walks you through the fundamental construction techniques, such as managing corner increases and clean edge finishes, ensuring your finished gifts look professional. Making your own household essentials allows for endless customization in colors, sizes, and stitch patterns for everyone on your list.
Why This Project Is Worth Making
The Classic Crochet Granny Square is the fundamental building block of handmade fiber art, relying on a rhythmic, repeatable stitch pattern that clears the mind. This project is ideal for beginners because it introduces the concept of working into chain spaces rather than individual stitch loops, which eliminates the struggle of finding tight stitches. You can easily complete a single square in under twenty minutes, making this an excellent choice for using up small leftover balls of yarn from larger projects. Because each square is modular, you can choose to make a single coaster or continue adding rounds to create a full-sized afghan, bag, or pillow cover.
I finally mastered the granny square after watching several videos, but this written guide helped me understand the stitch placement into the corners much better than the visual tutorials did.
— Sarah, hobbyist maker
Pattern Overview & Skill Level
- Skill Level: Beginner
- Approximate Time: 15–20 minutes per square
- Construction: Working in continuous rounds starting from a center ring
- Finished Dimensions: Approximately 5 inches by 5 inches using medium weight yarn
Materials & Supplies Needed
- Yarn: Worsted weight (#4), acrylic or wool blend, approximately 20 yards per square.
- Hook Size: 5.0 mm / H-8.
- Notions: Tapestry needle for weaving in ends, scissors, and optional stitch markers to track round starts.
- Yarn Substitutions: You can use DK weight (#3) yarn for a smaller, delicate square, but you will need to go down to a 4.0 mm hook. Using bulky weight (#5) will create a larger, thicker square and requires a 6.0 mm hook.
Stitch Guide & Abbreviations (US Terms)
- ch: chain
- sl st: slip stitch
- dc: double crochet
- dc cluster: 3 double crochet stitches worked into the same space
- sp: space (the gap created by the chains in the previous round)
- MR: magic ring (or alternatively, ch 4 and sl st to the first chain to form a ring)
Step-by-Step Pattern Instructions
This square is worked in rounds. You will turn your work or rotate it to ensure the stitches remain even.
Classic Square Foundation
- Rnd 1: Start with a MR. Ch 3 (counts as first dc), work 2 dc into the ring, ch 2, *3 dc into the ring, ch 2; repeat from * twice more. Join with a sl st to the top of the beginning ch 3. (12 dc, 4 ch-2 spaces)
- Rnd 2: Sl st into the next dc and into the corner ch-2 space. Ch 3, 2 dc in same space, ch 2, 3 dc in same space. *Ch 1, skip next 3 dc, (3 dc, ch 2, 3 dc) in next ch-2 space; repeat from * twice more. Ch 1, join with a sl st to the top of the beginning ch 3. (24 dc, 4 ch-2 spaces, 4 ch-1 spaces)
- Rnd 3: Sl st into the next dc and into the corner ch-2 space. Ch 3, 2 dc in same space, ch 2, 3 dc in same space. *Ch 1, 3 dc in next ch-1 space, ch 1, (3 dc, ch 2, 3 dc) in next corner ch-2 space; repeat from * twice more. Ch 1, 3 dc in last ch-1 space, ch 1, join with a sl st to the top of the beginning ch 3. (36 dc, 4 ch-2 spaces, 8 ch-1 spaces)
- Finishing: Fasten off, leaving a 6-inch tail. Pull the tail through the final loop to secure. Weave the tail into the back of the stitches using a tapestry needle to prevent fraying.
Care & Washing Instructions
- Hand wash your finished project in cool water using a mild wool-safe detergent to preserve the structure of the stitches.
- Lay the square flat on a clean towel and reshape it to its original dimensions while damp, avoiding direct sunlight or heat sources.
- If using synthetic acrylic yarn, it can generally be machine washed on a gentle cycle, but air drying remains the best practice to avoid fiber pilling.
Pro Tips & Common Mistakes to Avoid
- Tension Consistency: If your square begins to ripple or curl, your tension is likely too tight; try loosening your grip on the yarn or switching to a slightly larger hook size.
- Counting Stitches: Use a stitch marker on the first ch 3 of every round; this makes it much easier to locate the joining point at the end of the round.
- Weaving Ends: To hide ends invisibly, weave your yarn tail through the loops of the same color stitches on the back side of the square for at least one inch before trimming the excess.
- Adjusting Size: To make a larger square, simply repeat Round 3, adding an extra 3-dc cluster into every ch-1 space you encounter along the sides as you expand outward.
Frequently Asked Questions
Can I sell the squares I make from this pattern?
Most designers allow for the sale of finished items made from their patterns, but please check the specific terms provided by the creator or the source documentation if you intend to sell items in an online shop or craft fair.
Why is my square not lying flat?
If your square is cupping, your stitches are likely too tight, or you are missing the chain stitches between clusters. If it is ruffling, you may be adding extra stitches that are not called for in the pattern.
Is this pattern suitable for complete beginners?
Yes, this is a standard beginner pattern. It only requires knowledge of the chain stitch, slip stitch, and double crochet, making it the ideal starting point for those new to crochet.
Can I mix different brands of yarn in one square?
You can mix brands as long as they are the same weight category. Mixing fiber types, such as cotton and wool, may result in uneven shrinkage if the finished item is washed, so it is best to stick to similar fiber compositions for a single project.
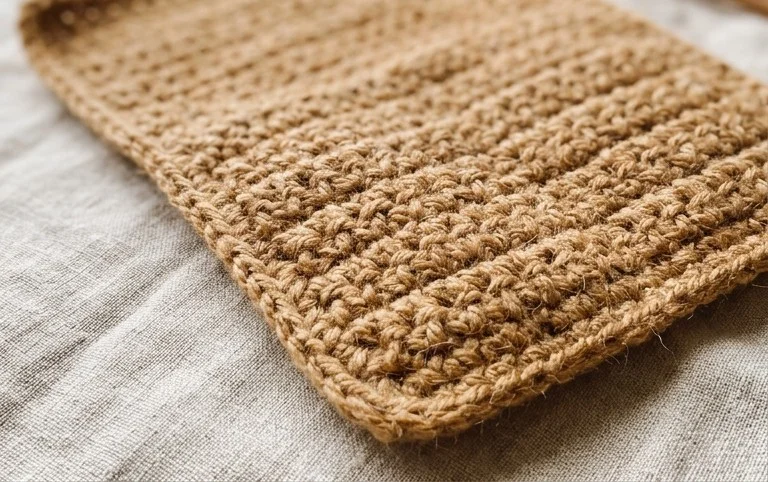
Your finished set of crocheted kitchen items adds a thoughtful, personal touch to any home and makes an impressive gift for friends or family. You can customize these pieces further by choosing festive red or green cotton yarns for a holiday theme or switching to a thicker waffle stitch to provide extra padding for handling hot baking sheets. Please share a photo of your handmade collection on social media to inspire other makers in our crafting community. Visit our archives to discover more simple, functional designs that you can finish in a single evening while you listen to your favorite seasonal music.