Classic Crochet Granny Square: Free Beginner Pattern
A soft, lightweight cotton square feels warm in your hands after a long day of working at a desk or keeping up with chores. This classic design from Lella boutique creates a tidy, geometric texture that works well for handmade blankets or small gifts for friends. Beginners find this project approachable because the repetitive motion builds confidence with tension and stitch count quickly. You will learn the fundamental techniques of working in rounds and creating distinct, clean corners that help your finished square lay flat on any surface. Crafting these small units offers a quiet, meditative break that results in something genuinely useful for your home decor.
Why You’ll Love This Pattern
The Classic Crochet Granny Square is the foundation of countless heritage blankets and modern garments. This project relies on a repetitive, rhythmic stitch pattern that makes it ideal for practicing tension control while watching television or listening to podcasts. Because it works from the center outward, you can easily stop at any size to create everything from coasters to full-sized afghans. Its scrap-yarn-friendly nature allows you to clear out your stash, making it a sustainable and cost-effective way to experiment with color combinations.
I finally mastered the granny square with this guide because the instructions for the corner chains were explained so clearly. My first one lay perfectly flat on the table, unlike my previous attempts.
— Sarah, hobbyist crafter
Pattern Overview & Skill Level
- Skill Level: Beginner
- Approximate Time: 30 to 45 minutes per square
- Construction: Worked in joined rounds, building outward from a center ring
- Finished Dimensions: Approximately 6 inches by 6 inches when using worsted weight yarn and a 5.0 mm hook
Materials & Supplies Needed
- Yarn: Worsted weight (#4) acrylic or cotton blend, approximately 20 yards per square.
- Hook Size: 5.0 mm (H-8).
- Notions: Tapestry needle for weaving in ends, sharp scissors.
- Yarn Substitutions: You can use DK weight yarn for a smaller, tighter square, though you may need to add additional rounds to reach the desired size. Using bulky yarn will result in a larger, faster-working square that requires a larger 6.0 mm hook.
Stitch Guide & Abbreviations (US Terms)
- ch: chain
- st/sts: stitch/stitches
- sl st: slip stitch
- dc: double crochet
- dc cluster: a group of 3 dc stitches worked into the same space
- sp: space (the gap created by ch stitches)
Step-by-Step Pattern Instructions
Follow these steps carefully to ensure your square remains flat and square-shaped rather than wavy or cupped.
- Foundation: Ch 4 and sl st to the first ch to form a small ring.
- Rnd 1: Ch 3 (counts as first dc), work 2 dc into the center ring. Ch 2, *3 dc into the center ring, ch 2; repeat from * two more times. Sl st to the top of the beginning ch-3 to join. (12 dc, 4 ch-2 spaces)
- Rnd 2: Sl st into the next dc and into the corner ch-2 sp. Ch 3, 2 dc, ch 2, 3 dc in that same corner sp. *Ch 1, (3 dc, ch 2, 3 dc) in the next corner ch-2 sp; repeat from * two more times. Ch 1, sl st to the top of the beginning ch-3. (24 dc, 4 corner spaces, 4 ch-1 spaces)
- Rnd 3: Sl st into the next 2 dc and into the corner ch-2 sp. Ch 3, 2 dc, ch 2, 3 dc in same sp. *Ch 1, 3 dc in the next ch-1 sp, ch 1, (3 dc, ch 2, 3 dc) in the next corner sp; repeat from * two more times. Ch 1, 3 dc in the final ch-1 sp, ch 1, sl st to the top of the beginning ch-3. (36 dc, 4 corner spaces, 8 ch-1 spaces)
- Finishing: Fasten off your yarn, leaving a 6-inch tail. Use a tapestry needle to weave the tail through the back of the stitches to secure it.
Care & Washing Instructions
- Hand wash your finished project in cool water using a mild detergent to prevent fiber stretching.
- Lay the square flat on a clean towel and reshape it into a perfect square while damp.
- Avoid using a tumble dryer, as heat can damage acrylic fibers or cause natural fibers to shrink unexpectedly.
Pro Tips & Common Mistakes to Avoid
Consistent tension is the most important factor in preventing the square from curling or rippling. If your square looks wavy, your hook size might be too small, or your stitches are too loose. Use a stitch marker in the first chain of every round to ensure you join to the correct spot, which keeps your corners aligned. Weave your yarn tails in multiple directions through the stitches rather than just snipping them close to the knot to ensure they do not pull out over time. If you choose to resize the square by adding more rounds, always add exactly one 3-dc cluster in every ch-1 space and two 3-dc clusters in every corner space to maintain the geometric growth of the square.
Frequently Asked Questions
Can I sell the squares I make from this pattern?
Yes, you are free to sell items made from this pattern, provided you credit the original design and use your own photographs for your listings.
Why does my square have a ruffled edge?
Ruffling usually occurs when there are too many stitches in a round. Double-check that you are only placing one 3-dc cluster in the ch-1 side spaces and not adding extra stitches between them.
Is it possible to use wool yarn instead of acrylic?
Wool works perfectly for this pattern. Keep in mind that wool tends to be stretchier, so you may need to block the squares more firmly to maintain their shape.
How do I join multiple squares together?
You can join squares using a whip stitch or a single crochet seam. Both methods provide a sturdy finish, but a slip-stitch seam creates a lower profile on the back of the fabric.
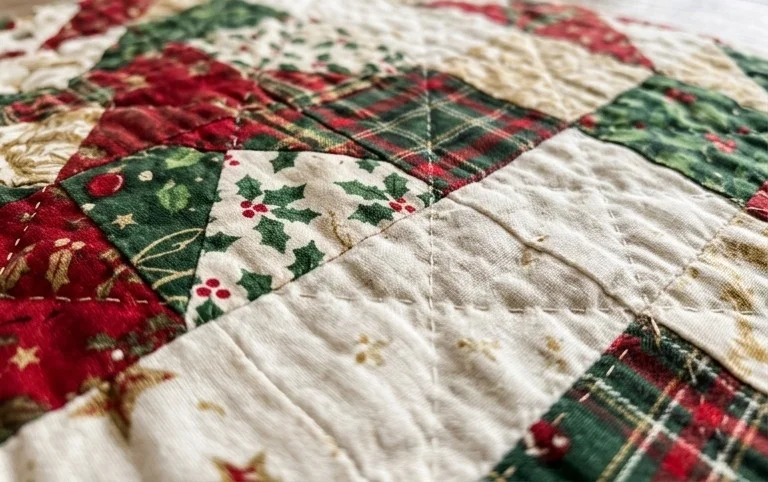
Your finished square now holds a crisp shape that creates a sturdy block for joining into a larger afghan or a simple pillow cover. Try using a variegated wool yarn instead of a solid color to highlight how the stitches transition around the center point. Once you have a collection of these completed, post a picture of your color layout on Instagram to inspire other makers in the community. You can find more free patterns to build your skills on our main project page whenever you are ready for a new design.