Evelyn Blanket: Free Easy Crochet Pattern for Beginners
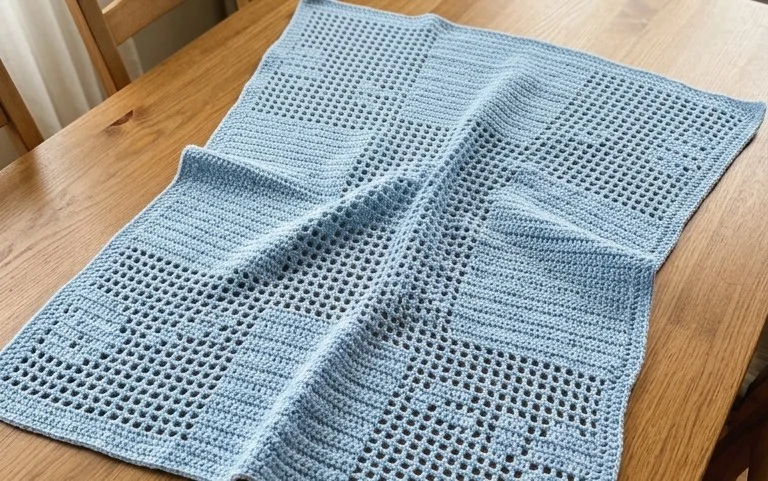
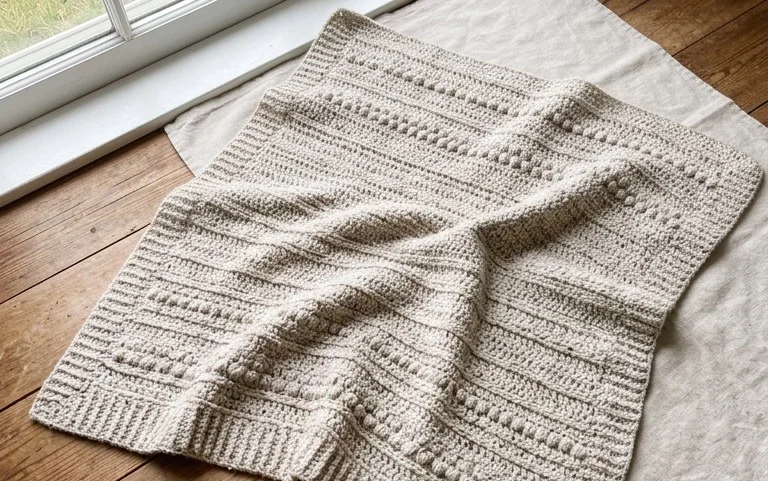
The Evelyn blanket grows into a soft, textured throw that feels substantial against your lap, making it a reliable companion for chilly evenings on the porch or curled up on the sofa. This project suits beginners who want to move past simple rows, as it focuses on the rhythm of classic granny squares that join together to form a cohesive, heirloom-quality piece. You will learn how to maintain even tension across every round and join motifs without creating bulky, visible seams. It turns simple yarn scraps into a thoughtful gift, ensuring you have a finished item that stands the test of time.
Why You’ll Love This Pattern
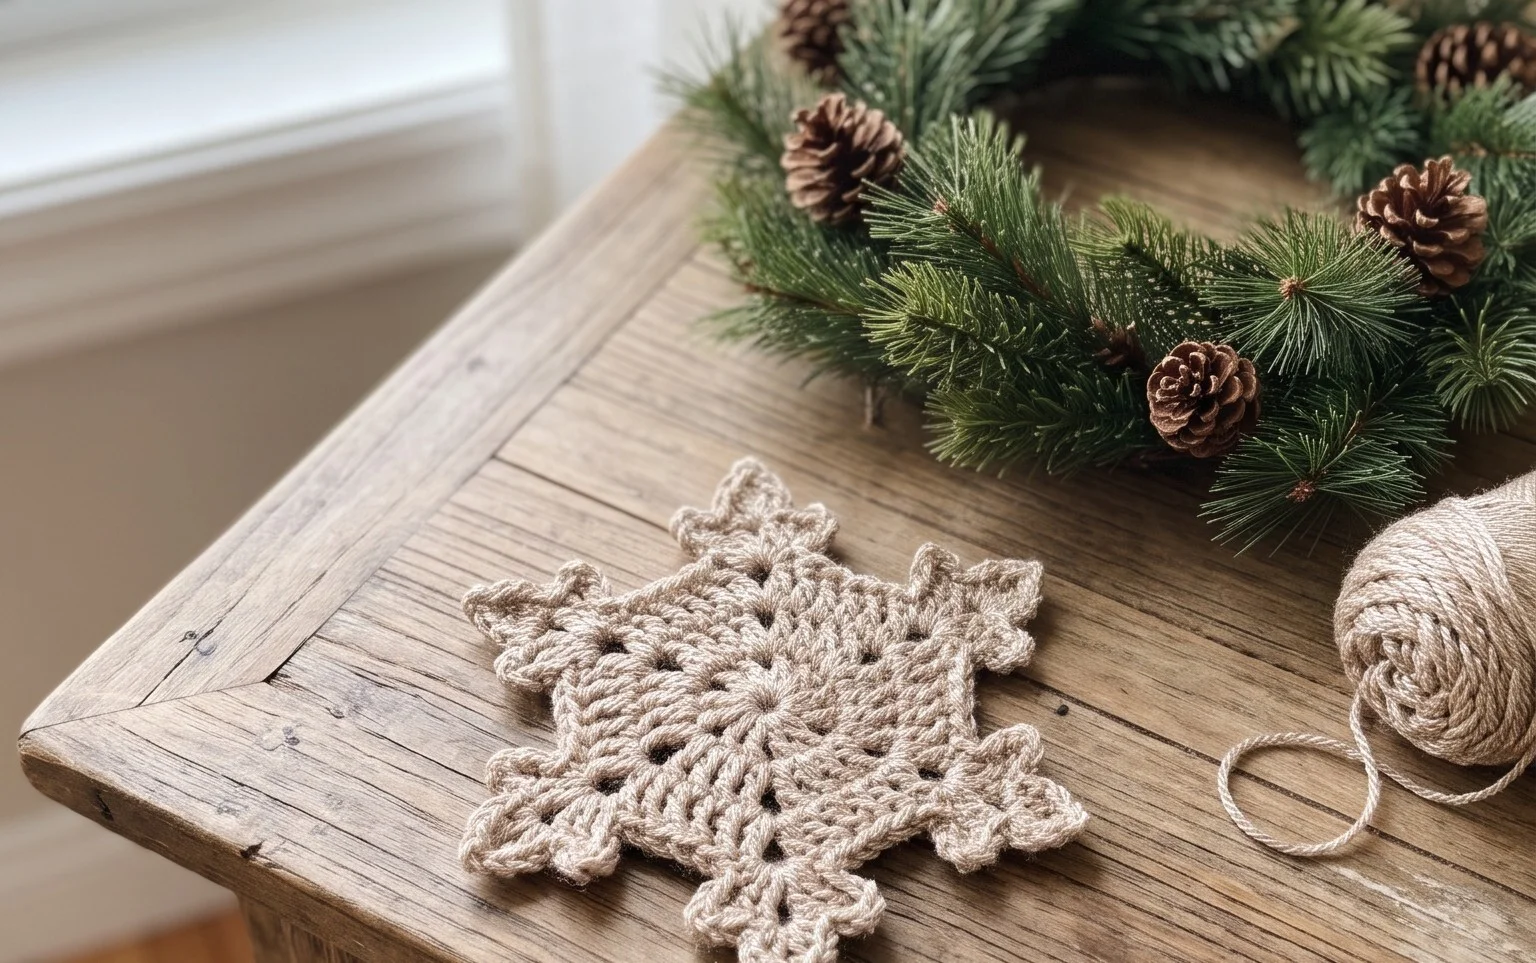
The Classic Crochet Granny Square is the fundamental building block for countless textile projects, from cozy patchwork blankets to stylish tote bags. This pattern relies on a repetitive, meditative sequence of clusters and chain spaces that creates a balanced, geometric motif. Because it works from the center outward, you can easily stop at any round to adjust the size, making it a highly efficient way to use leftover yarn scraps from your stash. The structure is forgiving for beginners, as the chain spaces provide clear markers for where to insert your hook in the subsequent round, reducing the likelihood of missed stitches.
I finally mastered my tension after struggling with other beginner patterns, and these squares worked up so quickly that I finished my first blanket in less than a week.
— Sarah, hobbyist crafter
Pattern Overview & Skill Level
- Skill Level: Beginner
- Approximate Time: 30 to 45 minutes per square
- Construction: Working in joined rounds from the center outward
- Finished Dimensions: Approximately 6 inches by 6 inches using worsted weight yarn
Materials & Supplies Needed
- Yarn: Worsted weight (#4), 100% acrylic or wool blend, approximately 25 yards per square.
- Hook Size: 5.0 mm (US H-8).
- Notions: Yarn needle for weaving in ends, scissors, and a measuring tape to ensure consistent sizing.
- Yarn Substitutions: You may use DK weight yarn for a smaller, more delicate square, though you will need to add extra rounds to reach the same dimensions. Cotton yarn provides a stiffer structure ideal for coasters or bags, while wool offers more warmth and drape for blankets.
Stitch Guide & Abbreviations (US Terms)
- ch: chain
- st/sts: stitch/stitches
- sl st: slip stitch
- dc: double crochet
- dc-cluster: 3 dc worked into the same space
- sp: space (the gap created by previous chains)
Step-by-Step Pattern Instructions
Start by creating a slip knot and placing it on your hook.
Granny Square Body
- Rnd 1: Ch 4, sl st to the first ch to form a ring. Ch 3 (counts as first dc here and throughout), 2 dc into the ring, ch 2, 3 dc into the ring, ch 2, 3 dc into the ring, ch 2, 3 dc into the ring, ch 2. Join with a sl st to the top of the beginning ch-3. (12 dc, 4 ch-2 sps)
- Rnd 2: Sl st into the next dc, the next dc, and into the first ch-2 corner sp. Ch 3, 2 dc in same sp, ch 2, 3 dc in same sp. *Ch 1, (3 dc, ch 2, 3 dc) in next ch-2 sp. Repeat from * twice more, ch 1. Join with sl st to top of beginning ch-3. (24 dc, 4 ch-2 sps, 4 ch-1 sps)
- Rnd 3: Sl st in each of the next 2 dc and into the corner ch-2 sp. Ch 3, 2 dc in same sp, ch 2, 3 dc in same sp. *Ch 1, 3 dc in the next ch-1 sp, ch 1, (3 dc, ch 2, 3 dc) in the next corner ch-2 sp. Repeat from * twice more, ch 1, 3 dc in the final ch-1 sp, ch 1. Join with sl st to top of beginning ch-3. (36 dc)
- Rnd 4: Continue the pattern established in Rnd 3, placing (3 dc, ch 2, 3 dc) in every corner and 3 dc in every side ch-1 sp, with a ch 1 between every cluster. Join with sl st to top of beginning ch-3. (48 dc)
Finishing
Fasten off the yarn, leaving a 6-inch tail. Pull the yarn through the final loop and pull tight to secure. Use a yarn needle to weave the tail through the back of the stitches to hide it securely within the work.
Care & Washing Instructions
- Hand wash your finished item in cool water using a mild wool-safe detergent to maintain fiber integrity.
- Lay the piece flat on a clean towel to air dry, reshaping it gently with your hands while damp.
- Avoid wringing or twisting the fabric, as this can stretch the stitches and distort the square shape.
Pro Tips & Common Mistakes to Avoid
- Consistent Tension: Keep your yarn tension steady throughout the clusters to ensure each side of the square remains the same length.
- Stitch Markers: Place a stitch marker in the top of your beginning ch-3 of each round to make it easier to locate the joining point at the end of the round.
- Weaving Ends: Weave your yarn tails in different directions through the cluster stitches rather than pulling them straight across the back, as this prevents them from showing through on the front side.
- Adjusting Size: To make a larger square, simply repeat the pattern of placing clusters in side spaces and corners for as many additional rounds as desired; note that each additional round increases the yarn requirement by approximately 15 percent.
Frequently Asked Questions
Can I use variegated yarn for this pattern?
Variegated or self-striping yarn works very well for granny squares, as the repetitive nature of the stitches highlights the color transitions beautifully. You may find that color changes happen at different spots on each square, which adds to the charm of a patchwork project.
How do I join multiple squares together?
The most common methods for joining squares are the slip stitch seam, which creates a raised ridge, or the mattress stitch, which results in a nearly invisible flat seam. You can use any spare yarn from your project to complete the joining.
Is this project suitable for a total beginner?
Yes, this is widely considered the best project for beginners. It introduces the double crochet stitch, chaining, and working into spaces, all of which are essential skills for almost every other crochet pattern.
May I sell finished items made from this pattern?
Generally, you are welcome to sell items you create yourself, but you must check the specific terms of the designer if you obtained the pattern from a third-party source. Most designers appreciate being credited for the original pattern design in your product listings.
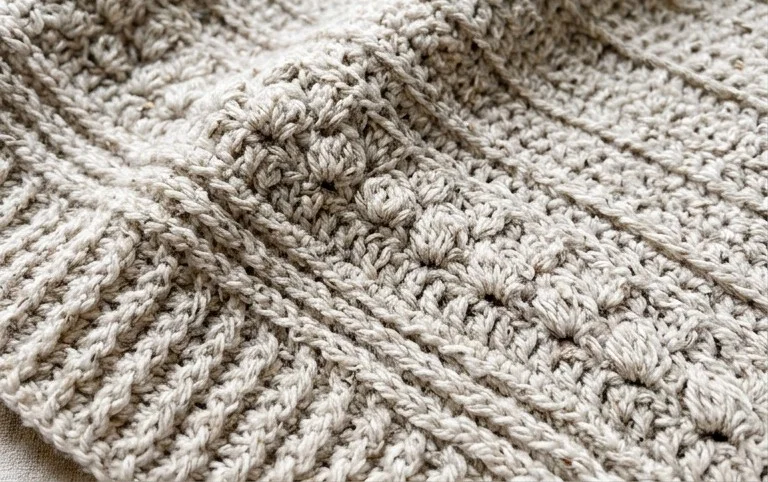
Your new handmade blanket adds a layer of warmth to any room, especially when you drape it over the back of a wooden rocking chair. You might consider using a variegated wool blend to create a unique color shift that makes each square distinct from its neighbor. Snap a photo of your finished work and share it online to show off those clean, straight edges. Visit the rest of our blog for more free patterns that help you build your crafting skills with every project you start.